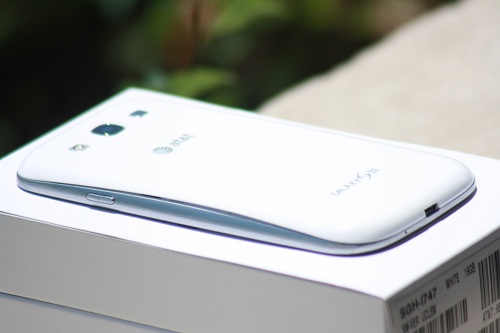
Not long ago the official firmware was released for the AT&T subscribers of Samsung Galaxy S3. It was an OTA update for the model SGH-I747. If you have already updated your devices, you can follow this step-by-step tutorial on how to root galaxy S3. The file uses CF-Auto-Root which will help in rooting your device. Before you begin though, you need to ensure that you have at least 50% battery left and that you have the correct USB drivers. Moreover, please know that this tutorial will be applicable to root Galaxy S3 alone. Finally, please be certain that you have the USB debugging mode on and that you backup all the sensitive data that may be on your phone since this process will remove all your data. If you are ready, please follow the tutorial below.
- Download CF-Auto-Root for Galaxy S3 file named CF-Auto-Root-d2att-d2uc-samsungsghi747.zip and extract it; Click Here
- Download ODIN 3.07; Click Here
- You will need to shut down your device and restart it after 5-7 seconds into Download Mode. In order to do so, you will need to press the volume down, home and power button until the device turns on. Press the volume up button in order to enter the download mode
- Launch Odin on your computer and connect the Galaxy S3 to the computer using the USB cable while it is still in the Download Mode. Odin should detect the device and the corresponding COM port should turn yellow.
- Click the PDA button and select the CF-Auto-Root-d2att-d2uc-samsungsghi747.tar.md5 file
- Please ensure that re-partition and in ODIN is not selected. Also ensure that Auto Reboot and F.Reset checkboxes are checked
- Once the flashing is complete, your phone will restart and you will see a PASS message with green background. This is a sign that your flash was successful. Please know that the restart will take some time as it is a new install. Once the phone reboots, please install an application that requires root in order to check if the process was successful. If not, please repeat that process.
- Once you are sure that you have followed the above steps as they are, please click the Start button in ODIN. The installation should now begin and will take some time
- Voila!
Disclaimer: the tools, mods and or ROMs mentioned through the course of this website belong to their owners and Rewritetech does not own anything. We are responsible for providing detailed tutorials and guides alone. In case of any damage caused to your cellphone or any device that you might be using, Rewritetech will not be held responsible. Please proceed at your own risk.